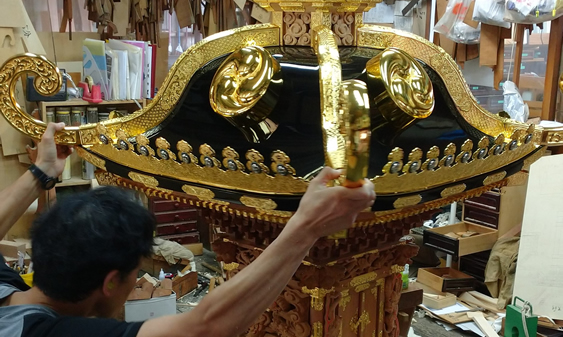
10 step specialty
Selection of Materials
Sticky close-grained wood, over 300 years old, is chosen as the appropriate type of wood. Using their experience, experts decide which sections of the wood will be used for the different Mikoshi parts.

Wood conversion
After finishing lumbering, wood which has been kept for more than 10 years is formed into each part size, inked and cut.

Timber manufacturing
This is the first step of processing to make Mikoshi shape from each part of the wood.
Here, woodworkers produce work such as Daiwa (an architrave), Dō (a hall), Igaki (a wall fence), Masugumi (square framing) and roof, and temporary frames.

sculpture
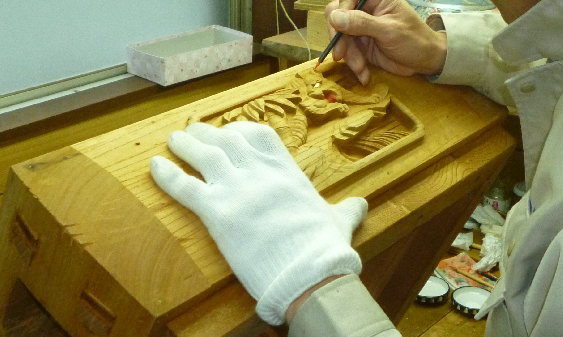
Using various carving knives, sculptors can make a single tree into a lively sculpture.

Metal ornament patterns
Metal ornament patterns that match each part are made for the Mikoshi.

Lacquer (undercoat)
The Mikoshi roof and daiwa are pre-treated to protect the joints and covered with lawn (cloth/fabric), then lacquer undercoating (mixed polishing powder and lacquer), dried, and polished with some water.
For the base, the process of lacquering and polishing several times makes a solid and durable base. After this process, lacquer is immediately applied and dried.

Lacquer (topcoat)
After the intermediate coating and drying, it is polished with water and top lacquer is applied using a dedicated brush. The Mikoshi parts are then kept in the drying room with a controlled temperature, while all the time paying close attention.

metal ornaments manufacturing
After engraving a design with sized patterns on the brass plate using a chisel, it is finished with gold plating.

Gold plating
After Mikoshi parts top lacquer has dried, using Hakubashi (a tool dedicated to gold plating) to place each piece of gold plating, it is dried and finished with cottons and brushes.

Framework
After completing the whole process, it is completed by attaching the metal ornaments and constructing all parts of Mikoshi.

16 steps of speciality
Dismantling
Mikoshi main body deconstruction.
The roof is taken off, Masugumi, Dō, Torii (a gateway at the entrance to a Shinto shrine), Igaki and Taruki (a rafter)
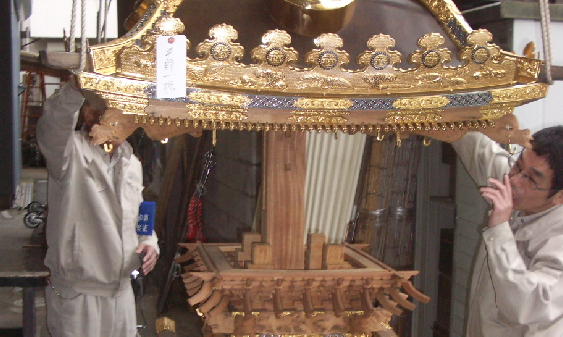
Removing the metal ornaments
Metal ornaments are removed from the main body of the Mikoshi.
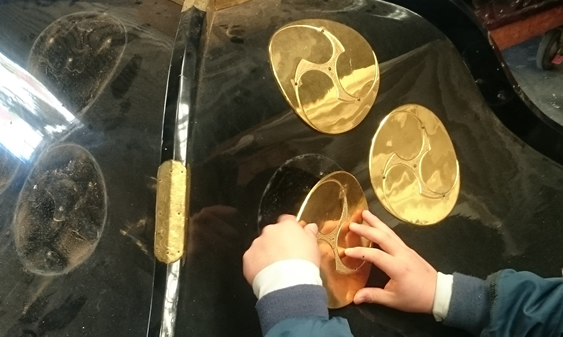
Dismantling Ōtori and Kotori
Dismantle all the parts that are set up with rivets and bolts.
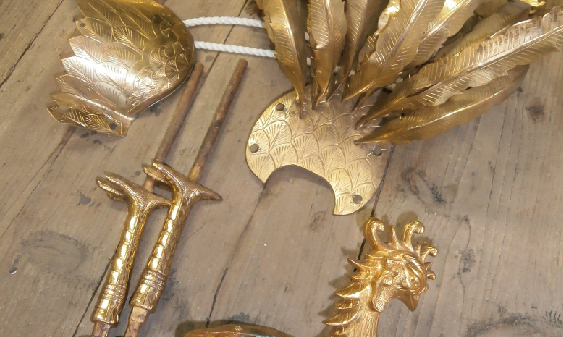
Dismantling ornaments
The connecting wires are cut, and the metal, beads, Hanabishi (a crest of a diamond-shaped flower) and bell are dismantled.
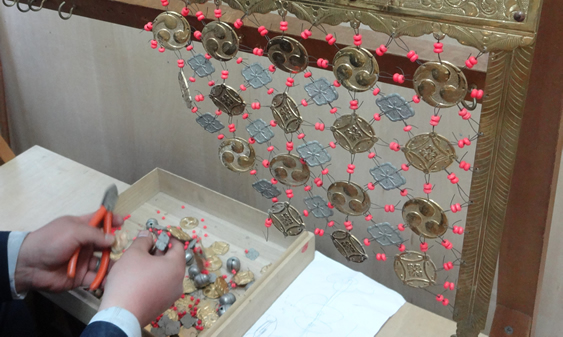
Repairing damaged parts of metal oranaments
Restoration of damaged metal ornaments, and manufacturing of other unusable metal ornaments (such as restoration of Ōtori feathers and new Taruki metal ornaments).
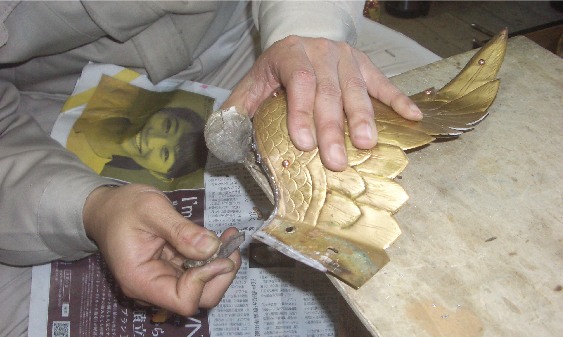
Levelling metal ornaments
Levelling metal ornaments (bending, straightening and distortion)
Inspection of metal ornaments (assessing whether usable or unusable)
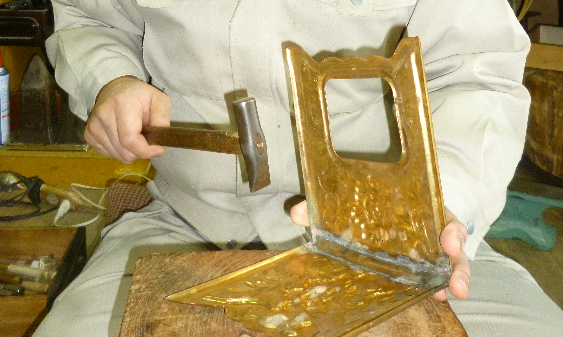
Mikoshi body wash
Chemicals are used to remove dirt from the Mikoshi body.
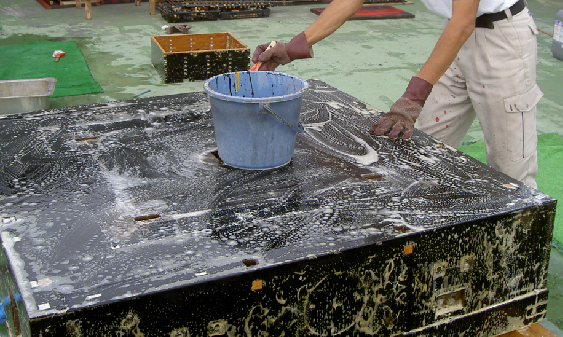
Repairing wood
Repairing wooden parts, such as loosening the Mikoshi body or adjusting the base of Warabite (a part of roof).
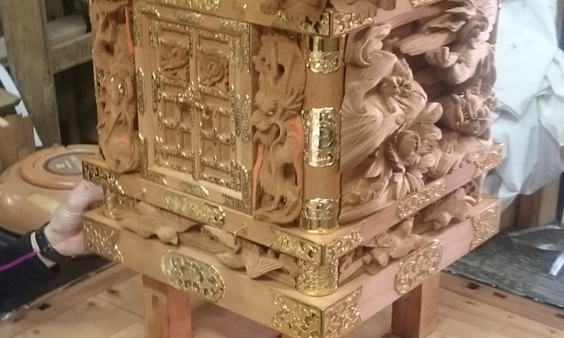
Lacquer
Damaged lacquer is repaired by removing the old lacquered part and giving it a new coat.
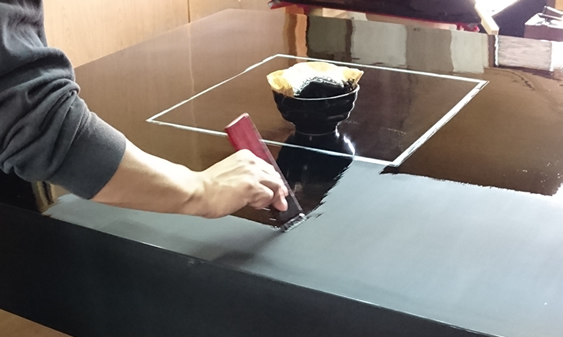
Gold plating
Old plating is removed and replaced with new gold plating.
(Board on the back of sculpture, Masugumi (a framework such as a Shoji screen or Ranma into a square) and others)
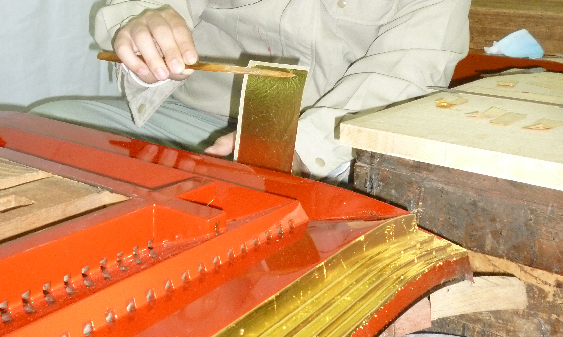
Plating
Old plating is removed and a new one applied.
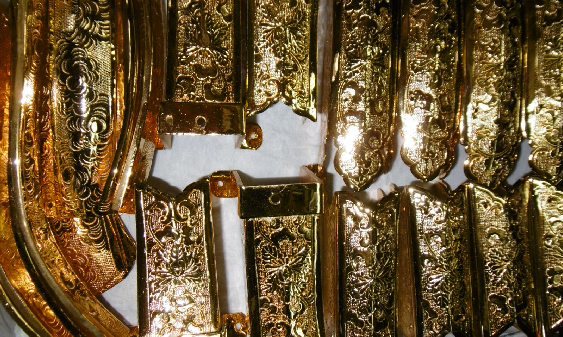
Colouring
Colour in sculptures.
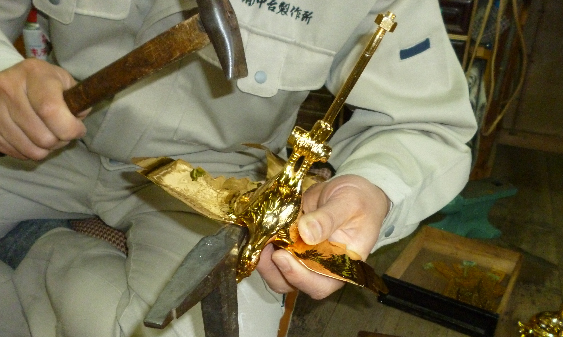
Framework Ōtori and Kotori
Each part of the framework plating is applied in gold with rivets and bolts.
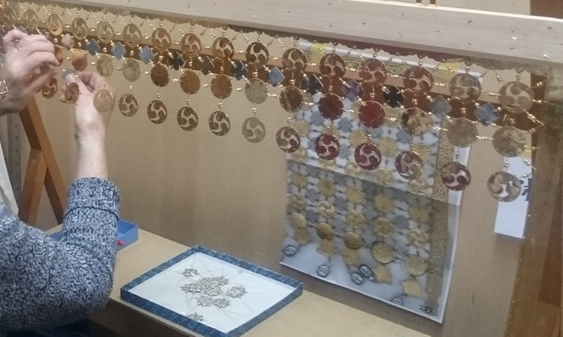
Connecting ornaments
Before the ornaments are connected, they are taken apart, repaired, parts replaced if needed and then put back together.
Attaching meatal ornaments
Plated metal fittings are attached to the body using gold plated brass nails (some screws).
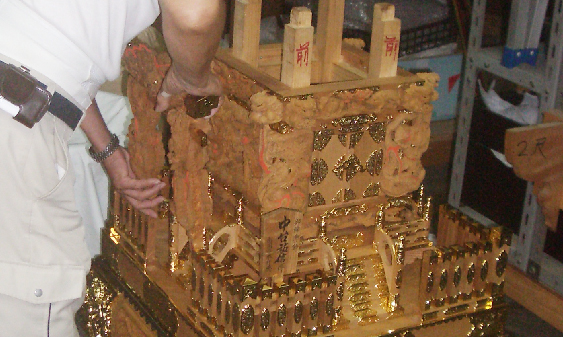
Framework body
The framework is adorned with metal ornaments to complete the Mikoshi.
